Mount Hugel
Date: 29th February 2020 – Summit: 1403m

Some of the OLT superstars from the tarn at the base of Mount Hugels plateau. Photo Credit: Haydyn Bevis
I had first viewed Mt. Hugel from high on the summit of Mt. Rufus back in August 2019. If it wasn't for the fact I was standing knee deep in snow with deteriorating weather at the time I would have been keen on trekking from Mt. Rufus to Mt. Hugel and making it a dual-Abel day. However, common sense prevailed and it would be another six months before I had a chance to climb it. What better way to spend the last day of summer than to summit Mt. Hugel - and at the same time visit Little Hugel - in the company of good friends.

Making sure I touch the high point. Smile says it all. Yipee! Photo Credit: Haydyn Bevis.
Why not watch & read?
Please enjoy a visual trip to Mount Hugel in addition to the blog below. Whilst the blog gives you greater detail on the trip (including route information) the video allows those that may never reach its summit a virtual experience.
I was lucky enough to have our good friends Haydyn, Natty and Chris along for company on Mt. Hugel. Setting our alarms for Horrible O'Clock the night before had us on the road out of Launceston at 5am, which would get us on track approximately 7:30am. The Abels book estimated 4.5 hours each way for the hike to the summit of Mt. Hugel, and we also wanted to climb Little Hugel which would add a substantial amount of time to our walk.
We parked at the Lake St Clair Visitors Lodge, completed the log book and set off along the OLT for about 1.2km before reaching Watersmeet, which is the junction where the Hugel and Curvier Rivers cross. From here, we took the Shadow Lake Track to the left of the Watersmeet bridge. Confusingly, on some maps this track is also called The Mount Rufus Circuit Track. We were only walking along the Shadow Lake Track for a few hundred metres before reaching the small bridge that would allow us to cross the Hugel River.

The pretty track alongside the river. Photo Credt: Haydyn Bevis
After crossing the Hugel River the track began to climb gradually but consistently towards Shadow Lake. This section of track was particularly stunning. Sheltered by the forest canopy we meandered alongside the Hugel River, the sound of cascading water adding to the beauty of our surroundings. Generous in width and well maintained, the track was very easy for us to follow and with no thought needed to expend energy on navigation, we were fully able to appreciate the World Heritage wonder surrounding us. Small sections of the track had more pronounced elevation gains than other areas, but on the whole the approximately 4km hike into Shadow Lake was relatively easy.

False summit of Mount Rufus coming into view. Photo Credit: Haydyn Bevis

A sizeable unnamed tarn on the way to Shadow Lake. Photo Credit: Haydyn Bevis
We had been hiking gradually upwards in a north-westerly direction along the Shadow Lake Track when we glimpsed our first view of Mt. Rufus as the track began to level out. A few moments later and we could also spy Mt. Hugel through the trees ahead, then Little Hugel. The forest was now opening up more and gradually changing to sub-alpine scrub. The sun was shining as we reached an unnamed tarn just prior to the track taking a more south-westerly turn towards Shadow Lake. We were surprised at how damp the track was at times and remarked that it could be quite boggy in winter!

Mount Hugel sitting behind Shadow Lake. Photo Credit: Haydyn Bevis.
After reaching Shadow Lake and soaking in the glorious views of Mt. Rufus, Mt. Hugel and Little Hugel, we took the right hand turn at the signposted track junction to continue along its eastern side, passing a King Billy Pine-lined beach and many lovely looking camp sites (and one taped off due to falling trees). From Shadow Lake we knew we would continue onward towards Forgotten Lake, another 1.5km away.

Small sections of duckboard around the lake. Photo Credit: Haydyn Bevis
Leaving Shadow Lake behind us, the track changed once again to boardwalk which made crossing the small valley of buttongrass and coral ferns between Shadow and Forgotten Lakes much easier on our legs than it would have been if not for the boardwalk. The boardwalk ended abruptly at the northern end of Forgotten, Lake and our GPS maps were showing we were due to start the climb to Little Hugel. This gave us a moments confusion as the track was continuing westwards not north. Our GPS devices were obviously peaking too early as another 30m or so along the track it began to turn sharply north. Yay!

Lovely tall Pandani. Photo Credit: Haydyn Bevis
Now the real work began. The elevation gain thus far had been gradual - not anymore! The track immediately began climbing steeply upwards towards the base of Little Hugel. At times, the water running down the track resembled a creek, and other areas were so knotted with slippery tree roots it was hard to get a good footing. All that was forgiven though to be climbing through almost rainforest-like bush comprised of stunted eucalyptus, Pandani (Richea pandanifolia) and small Deciduous beech (Nothosfagus gunnii aka. 'Fagus'). It was also surprisingly well marked with a mixture of orange reflectors and the occasional cairn. There was no reprieve from the steep upwards climb and we were grateful the day wasn't any warmer!
Briefly leaving the forest canopy we arrived at a small scree section following the orange reflectors and occasional cairn that continued to lead us up. It was almost midday now and the sun was heating up and reflecting off the rock. Glimpses of the lakes we had skirted around started to open up below us.
Re-entering the forest canopy for a short lived but particularly steep pinch, we again stepped out onto another scree field, this one much larger which lead to the summit of Little Hugel. However, if one was just wanting to climb Mt. Hugel (or do it first) it is at this junction you would climb south-westerly towards the visible track leading through the scrub in the direction of Mt. Hugel. For us though it was onward and upwards!
The remainder of the scree climb to the summit of Little Hugel took longer than we actually expected. The climb was very steep in some areas with sporadic reflector markers and then eventually they stopped and were replaced with even more sporadic cairns. At least we could visually see where we wanted to end up and proceeded to a dip in the boulders immediately under the summit area. From here cairns led both east and west. We decided to proceed to the west and were aiming for a small chute leading to the summit.
Just prior to reaching the small, vegetated chute the rocks increased in size considerably, as did the exposure. It was here that Haydyn decided to sit out the final climb as he isn't a lover of exposure. There was a section a few metres long that definitely required a little more concentration - something to bear in mind if you're not keen on skinny, exposed ridges. Still, after that very small section, the rest of the scramble to the summit was easy enough.

The small scree field leading to Little Hugel.
The views from Little Hugel make it a very worthwhile detour. Looking over the Curvier Valley in the distance to Mt. Olympus (which Chris had climbed recently) was breathtaking. My favourite catchphrase is "mountains for days" and it certainly rang true up there. After a few indulgent moments enjoying the vista, it was time to descend back down to the base of the scree and head to our main aim of the day - Mt. Hugel.
Descending back down off Little Hugel, we followed the rock cairns at the base of the scree that lead off into the scrub. It was quite lovely enjoying a brief brunch on the rocks before setting off on the obvious pad to the top of the first ridge to our west. The pad lead through open alpine vegetation, and from this point onwards we were glad it was a fine summer's day - during inclement weather the rest of the hike would be very exposed. Our plan was to progress along this first plateau until reaching a small tarn at the base of the brief climb that would take us up onto the the next plateau below Mt. Hugel.
Heading towards the climb that would take us up and onto Mount Hugels Plateau. photo Credit: Haydyn Bevis
The scrub changed as we neared the plateau, and the now boggy pad continued to wind through cushion plant, coral fern and sphagnum moss. Looking behind us, Little Hugel appeared as no more than a bump! The tarn was delightful and was bordered with Pandani, Creeping and Pencil pines. This would be the last opportunity for water until our return, so we made the most of refilling our vessels.
Circling around the south-western side of the tarn we began the brief climb upwards. At this stage there were a few indistinct pads leading up to the plateau, but no cairns were visible. On our return route we would find a relatively well trodden pad back to the tarn a bit further towards the north, so it is worthwhile on the ascent to look for the cairned route that leads from the southern edge of the tarn before commencing your ascent. Chris spent sometime half way up the climb identifying all the mountains visible from this charming vantage point while Haydyn, Natty and myself continued onward.
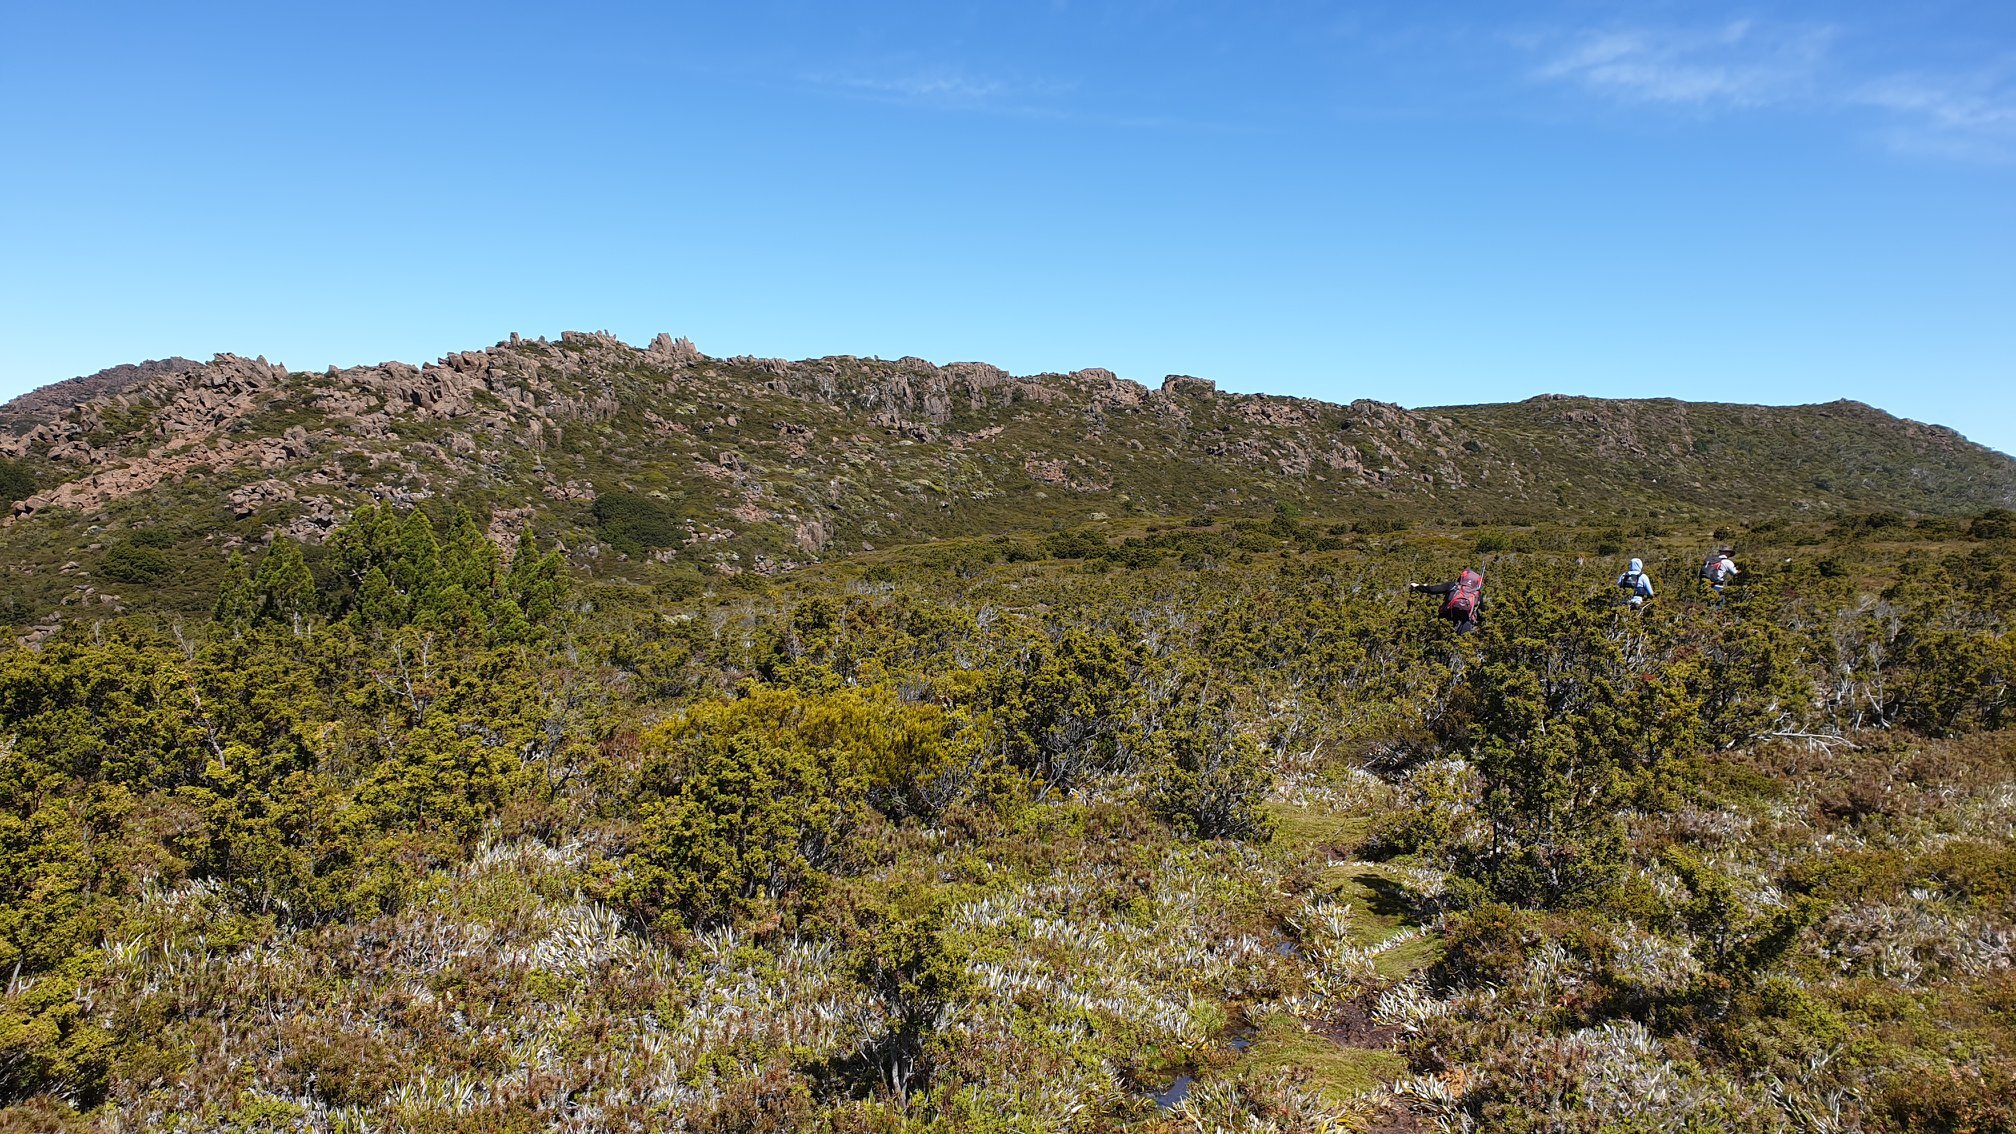
Once on the plateau we continued in a south-south-westerly direction (or as Chris and I decided to jokingly call it, "south-left") towards the imposing rock mass that held Mt. Hugel's summit. The pad was obvious in some areas and completely missing in others. Some sections had multiple cairns, some none! It was a matter of choose-your-own-adventure, but with a clear day and unobstructed visibility, it certainly wasn't a challenge navigating our way along. However, we were a bit behind schedule at this stage, as we were aiming for a 2pm turnaround at the latest. We guessed we still had a good 45 minutes from this point to the summit and that would put us a few minutes behind cut off. Reaching the base of the summit climb we located cairns again, and decided to take the opportunity to refuel with some food, rehydrate and drop a few packs before starting the final push.

The summit of Mount Hugel coming into view. Photo Credit: Haydyn Bevis
The ascent to the summit began after crossing a boulder field, cairns now marked the route up the steep ridgeline. Initially we found this relatively easy, as the boulders were interspersed with vegetation allowing for good traction, very little exposure and great hand holds. As we climbed higher the size of the boulders began to increase markedly!

A closer view of Mount Hugels lumpy summit mass. Photo Credit: Haydyn Bevis

Generous sized boulders to negotiate on the final summit push. Photo Credit: John Ralph @ Ascent Fitness
The cairns had now all but disappeared again, and it was taking some time to pick the best way up and over the at times massive boulders - with sizeable crevasses between them. Although only a relatively short distance to cover, the combination of the size of rock and the steepness meant we were all sweating a tad as we broke out onto the blade-like ridge that marks the summit area. A quick scramble along the ridge to the high point at 1403m and we were there with one minute to spare for cut off! Phew!
The summit of Mt. Hugel is fabulous in itself, but even it is superseded by the views surrounding it of the Cheyne Range, Mt. Gell, Mt. Olympus, Mt. Rufus and the huge craggy ridgeline leading to it. We could even see Mount Othrys off in the distance. The jewel-like lakes and tarns on offer from every view and the sense of isolation complete the splendor. One could spend a lifetime up there but for us alas it was time to head home. We had a solid five hours ahead of us before we would see the car again. It was time to retrace our steps and thank the mountain for letting us climb her today.
The stats.
Distance: Approx. 25km return from Lake St. Clair Visitors Centre using the Shadow Lake Track.
Time taken: 11 hours including multiple breaks.
Difficulty: The Abels book grades Mt. Hugel as "hard". We would classify it more towards "medium" in good weather, due to the well-marked track to Little Hugel and good pad on to Mt. Hugel. That being said, the plateau between the two mountains is quite exposed should the weather be less favourable, and there is considerable distance to cover in a single day trip. Camping at Shadow Lake is an option to break up the trip (as well as summit the nearby Mt. Rufus).
Type of track: Formal track to the base of Little Hugel, then pads and occasional cairns to the summit of Mt. Hugel.
Access from: Lake St. Clair Visitor's Centre.

Route taken to Mt. Hugel, via Shadow Lake and Little Hugel.